May 2, 2021
Arrival at Pollock Bench
I found myself back in Grand Junction on a Sunday in May for round two of my COVID-19 vaccination. The next morning I’d receive a jab at a local pharmacy before driving back to Denver and the Front Range. Four weeks prior, vaccine appointments were impossible to book in the Front Range and high country, but Mesa County had plenty of free slots. Sadly, as of this writing (August 2021), Mesa County remains largely unvaccinated, with rapidly rising case counts.
But on this Sunday my goals involved something entirely different: a long hike through desert canyons to see the remote and beautiful Rattlesnake Arches.
Dramatic skies loomed over the sweeping landscape as I pulled into the Pollock Bench Trailhead. Prominent signs warned of flash flooding risk both at the trailhead and along the routes within the canyons. Heavy rain was in the forecast, but supposedly not until Monday. Still, this made me nervous. Luckily, I spotted a local guide prepping a young woman for a trail run. I asked him about flooding risks. He assured me my intended trail took me only briefly into flood zones, and that the weather that day presented only marginal risks.

Pollock Bench sits at the northern edge of the McInnis Canyons Conservation Area, near Fruita and Colorado’s western border. Mountain bikers and off-road vehicle enthusiasts flock to its gorgeous trail system. But a majority of the land sits within the Black Ridge Canyons Wilderness, where hiking, camping, and backpacking reign supreme.
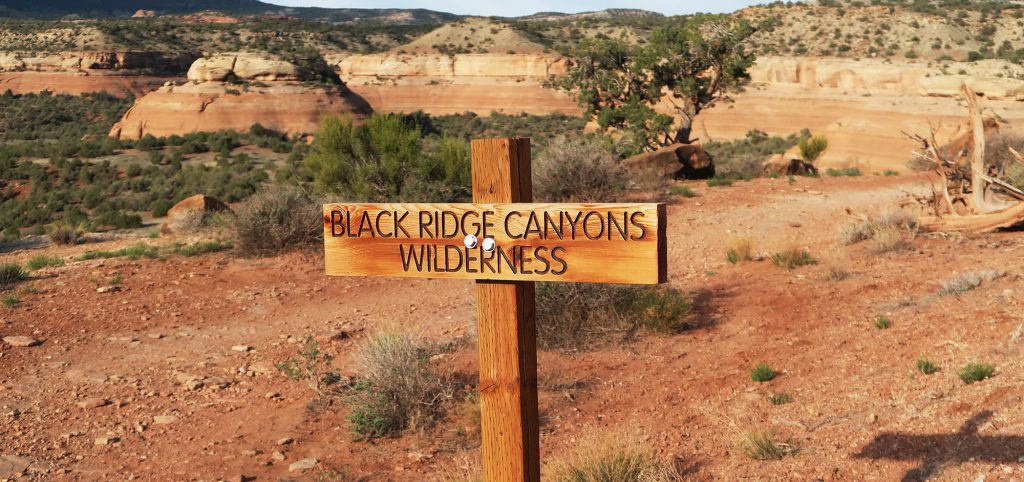
A journey through the Black Ridge Canyons
With a jeep or a guide, a visit to Rattlesnake Arches can involve little more than a couple miles of walking. But for those of us with ordinary vehicles, the journey requires a solid 14-mile out and back. And while the net vertical gain is only 1000′, your round-trip hike will involve racking up a solid 2500′ vertical gain.
Beyond these stats, you should consider some other risk factors associated with this hike. At 4,500′ elevation, this area of Colorado represents a true desert experience. Water is scarce along the trail and temperatures run hot. I’d recommend a minimum of 3 liters of water—on a cool day! Many hikers also complain that you can easily lose the lightly trafficked trail. I nearly did so twice. Cacheing a map to your phone, with a GPS overlay, is key.

All that said, the hike is incredibly gorgeous. In early May the wildflowers and cacti were in full bloom. The desert was green. And the red rock popped against the blue and white skies.


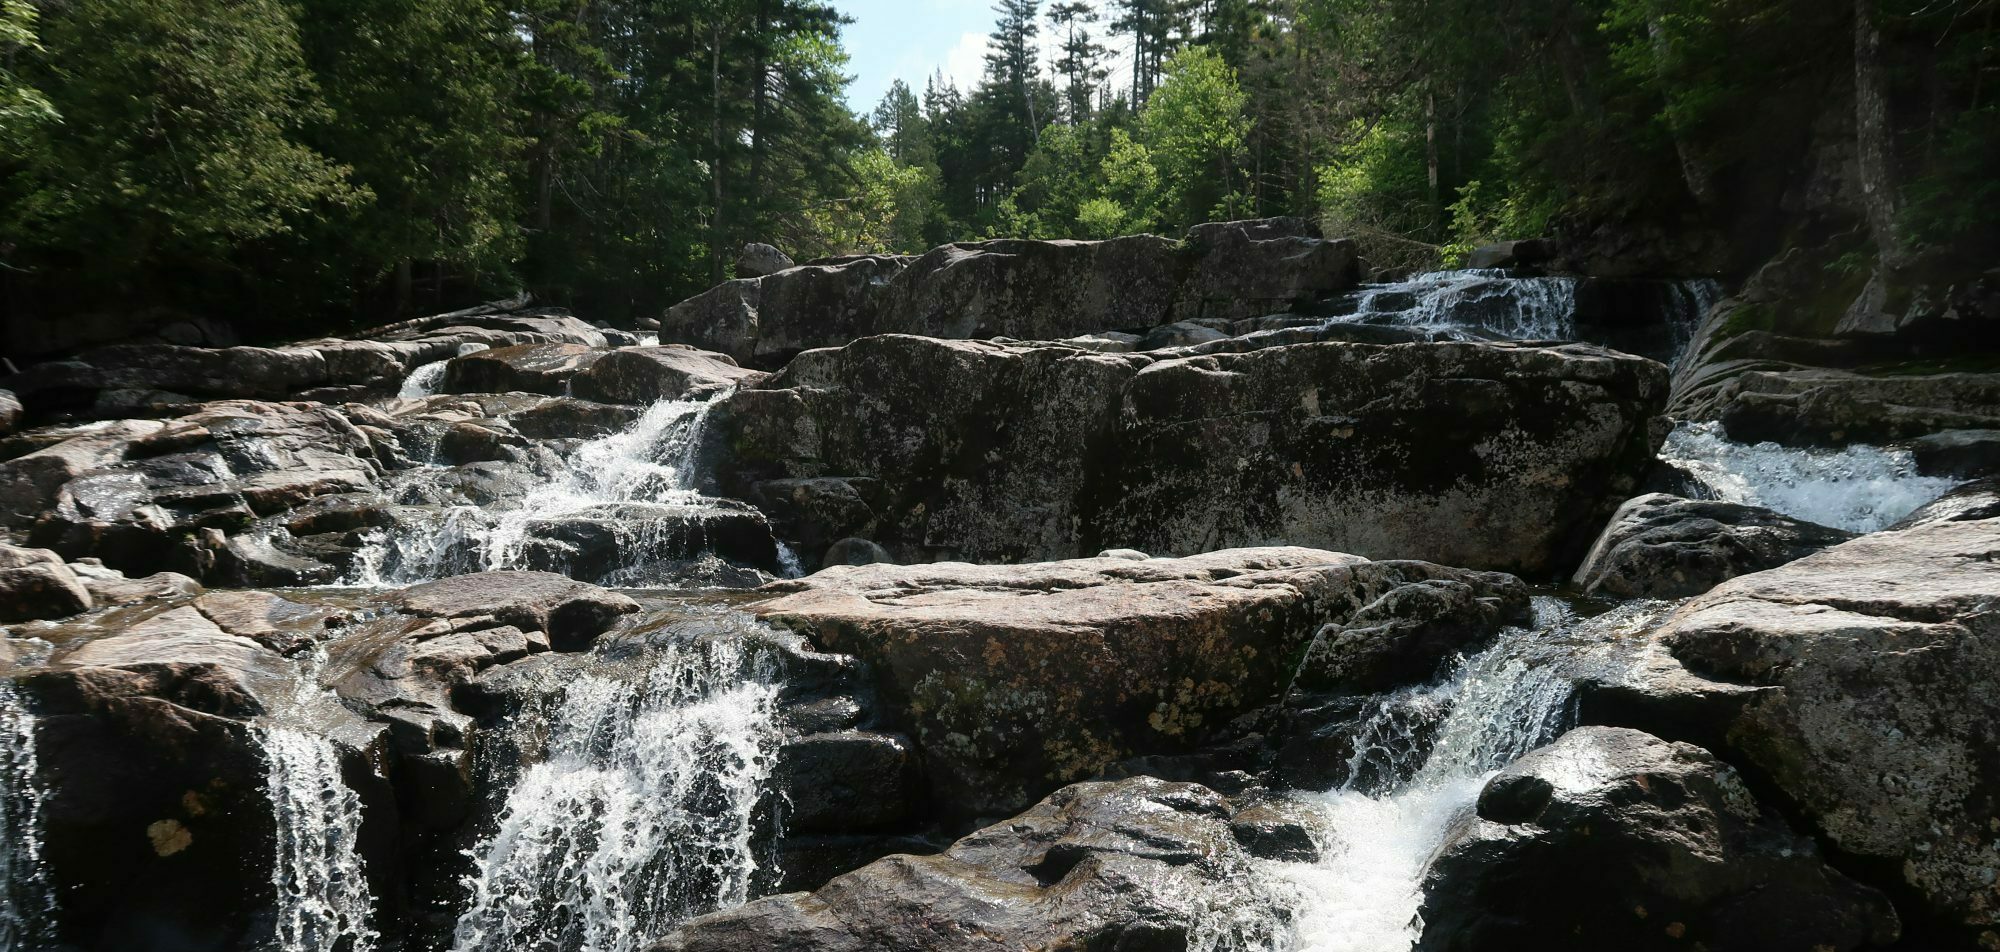
After ascending a gradual 1000 vertical feet, the trail loses nearly all of it, dipping into Pollock Canyon. From there the hike gradually ascends again, alternating between easy miles along the ridgeline and some intense scrambling into and out of smaller canyons.
Threatening Skies over Window Rock Tower
Then the trail began to ascend in earnest. The skies grew darker and began to threaten rain. But just then I caught sight of the first of many arches that day: Window Rock Tower. The formation sat atop a tall, sheer cliff band over the canyon. It struck me as some sort of sentinel or watchtower.

From there the trail climbed a steep slope, towards an upper plateau about 1000 vertical feet above the trailhead. The upper switchbacks here featured dramatic views of the valley below containing Fruita and Grand Junction.
A few meandering miles remained between me and the final target: Cedar Arch. But these were “easy miles”. Just then, a light rain began to fall. The day had grown hotter, and I welcomed the rain, cloud cover, and breezier weather. The dirt path bumbled along an isocountour, around a higher plateau, and into Rattlesnake Canyon. And luckily for me, the weather on this side of the ridge featured blue skies and sunshine.

Rattlesnake Arches: Your own private National Park
Needless to say, the vast majority of Americans do not consider scrambling around in the desert for 14 miles a “good time.” As a result, Rattlesnake Arches was close to empty. I saw perhaps six hiking parties since leaving the trailhead, and interacted with just two while exploring the arches themselves. Compare this to Arches NP, across the border in Utah, where a spring Sunday can quickly lead to temporary park closures and overflowing parking lots.
I won’t claim Rattlesnake Arches compares to the National Park. Watching a sunrise from the ledges above Delicate Arch is a unique and spectacular experience. But these formations do represent the largest collection of natural arches outside of Utah. (To be fair, the border lies a mere 10 miles West).

The trail passes by three or four major archways en route to the grand finale: Cedar Arch. After miles of ups and downs, the payoff comes fast and easy. The arches sit perhaps a quarter mile apart from each other along a flat dirt path.

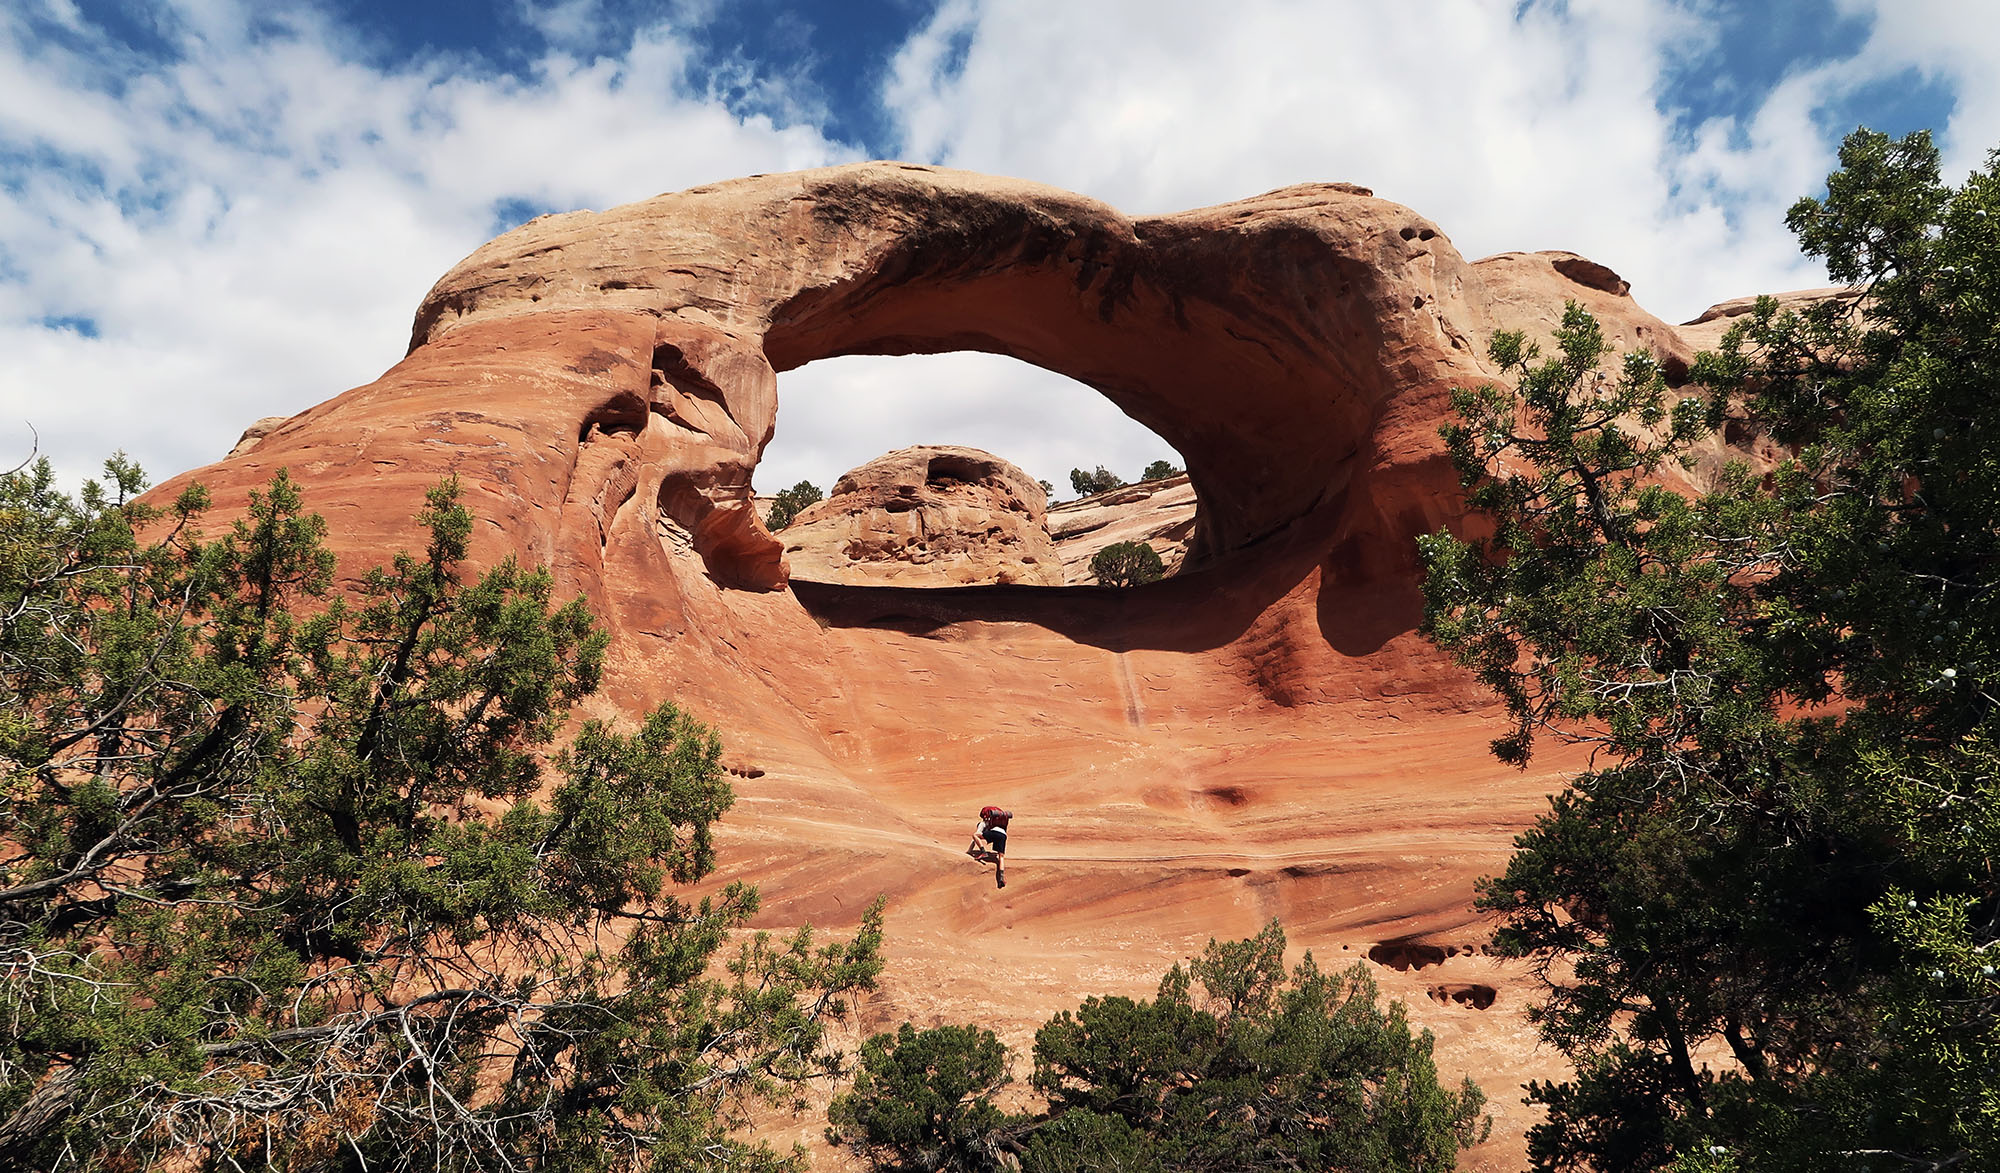
Up and Over through Cedar Arch
The official trail terminates at Cedar Arch, perhaps the most impressive of the bunch. As I arrived, I saw a couple with a dog attempting to scale the slickrock beneath the archway. Chatting with them, I learned you can introduce a thrilling shortcut to your hike by climbing through this arch and over the high ridgheline to the return trail.

I decided to give the scramble a shot. The slope was steep and nearly featureless. But the dry rock had texture and good purchase. At the crux of this ascent, someone had carved faint, weathered footholds. These alterations were just enough to make the ascent feel not-crazy.
From atop the ridge I could see for miles in all directions. I peered back down through Cedar Arch and into Rattlesnake Canyon. The views were stunning.

From atop the ridge, a flat jeep road runs parallel to the hiking trail towards the terminus of the ridge. I saw one intrepid explorer using this to revisit each arch from above. But 7 or 8 miles into my day, I was ready to head back. I followed the jeep road in the opposite direction (right) and then hit a trail that descended back down to the route I had taken out (left). These are all labeled on the All-Trails map, which I strongly recommend cacheing ahead of time.
Mission Accomplished
Since the standard trail wraps around this ridgeline, this shortcut saved me easily a mile and a half. From here it was smooth sailing back to the Pollock Bench trailhead. Only one tricky scramble into a canyon gave me pause. It was a bit nerve-wracking on the way up. Coming down, I crab-walked to avoid feeling the exposure.
This journey home involved a LOT of ups and downs under the midday Sun. Luckily, I brought 3 liters of water and made use of all of it (I usually bring just 2 liters on strenuous mountain climbs).

Overall, Rattle Snake Arches is a fantastic hike! It’s a long and strenuous trip through high desert. But if you come prepared and start early, the payoff is big. I thought it was quite a treat to wander among remote, sandstone arches. And I shared the experience with just a handful of similarly ambitious adventurers.
Please do not advertise or suggest someone go off trail and damage sensitive desert landscapes. I know this was not your intention, but I would really appreciate it if you removed the part about hiking off trail through Cedar Arch. Thanks. (The BLM rangers would likely also appreciate it).
Thanks Mike. There’s an interesting tension between bushwacking and leave no trace guidelines. When I bushwhack I try my best to walk on durable surfaces (eg slickrock), existing well-worn herd paths, or, when all else fails, land with no evidence of prior human impact. Most wilderness areas I’ve recreated in allow and even encourage bushwhacking, dispersed camping away from trails, and travel along well established herd paths. That said, I’ll admit I’m not entirely familiar with BLM policies.
Munier, no land manager would ever encourage bushwhacking or off trail hiking in the desert. “Don’t bust the crust”– footprints destroy the macrobiotic crust that forms on the sand over the years and prevents erosion, absorbing the moisture from rainstorms. Footprints can cause severe damage and last for a decade, even in the unlikely even where they don’t encourage additional footprints to follow. If you care about desert ecology, this comment should provide enough for you to start your education. Happy hiking!